

The Ultimate Winter 4x4 Packing List
Planning a winter adventure through Southern Africa is an experience like no other. While the...
 1 April 2026

Searching...
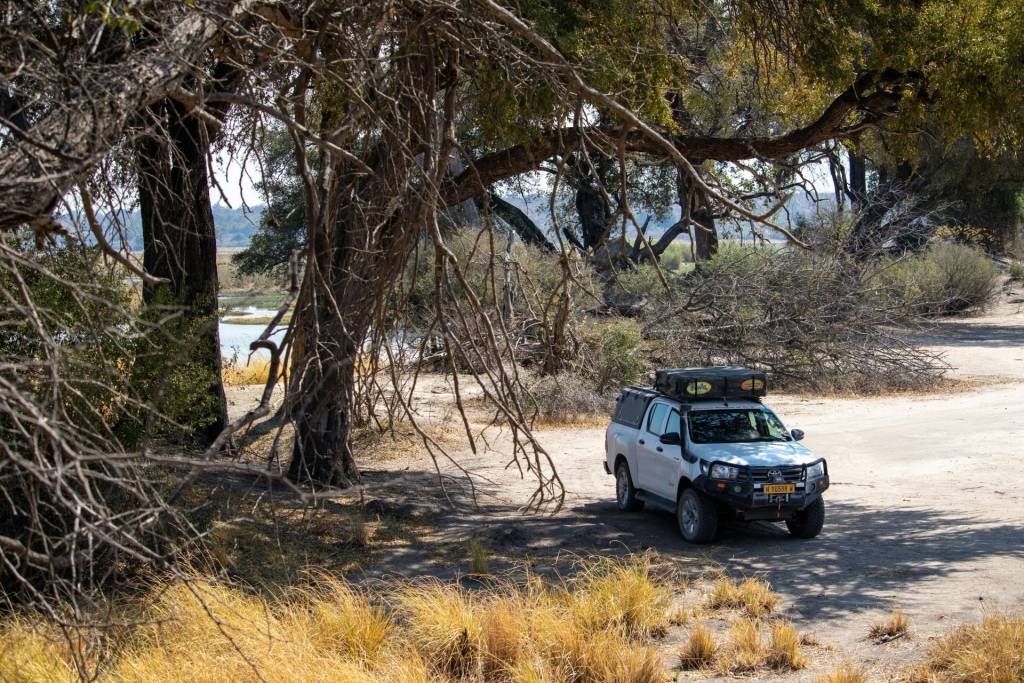
The lure of the open road is what draws so many adventurers to southern Africa. Whether you’re navigating the red dunes of the Namib Desert, the rugged tracks of the Richtersveld, or the sandy trails of Chobe National Park, 4×4 hire gives you the freedom to explore where others can’t. However, with that rugged terrain comes the inevitable risk of a tyre puncture.
Thankfully, our rental partners offer various forms of roadside assistance, even when you’re off the beaten track. However, when time is of the essence, it might be in your best interest to change the tyre yourself. After all, learning how to change a tyre is an essential skill for any overlander. And, even if you’re not a Drive South Africa customer, these tips will help you navigate a sticky situation in the bush.
Before you even touch your 4×4 wheels, you’ve got to ensure the environment’s safe. If you feel the vehicle pulling to one side or hear the rhythmic “flap-flap” of a flat, don’t slam on the brakes. Slow down gradually and look for:
Every Drive South Africa 4×4 hire comes equipped with the necessary tools, but their locations vary by model. You should familiarise yourself with these before you head into the wilderness.
Every Drive South Africa 4×4 hire comes equipped with the necessary tools, but their locations vary by model. You should familiarise yourself with these before you head into the wilderness.

For this guide, we’ll use the Toyota Hilux – the backbone of African safaris – as an example. It’s reliable, but the spare tyre location can be a bit of a workout. In fact, most “bakkies” and bakkie-based SUVs use this layout.
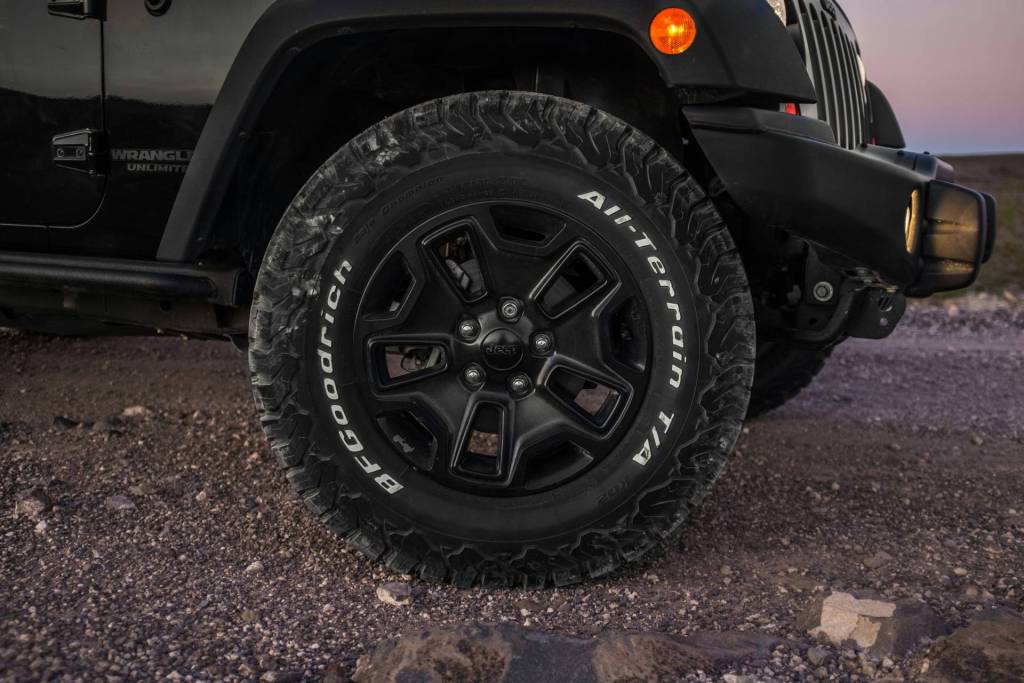
The modern Defender is a sophisticated machine, and its weight requires precision tyre changes.
Engage the handbrake and put the vehicle in gear (or “Park” for automatics). If you’ve got wheel chocks, place them under the wheel diagonally opposite the one you’re changing.
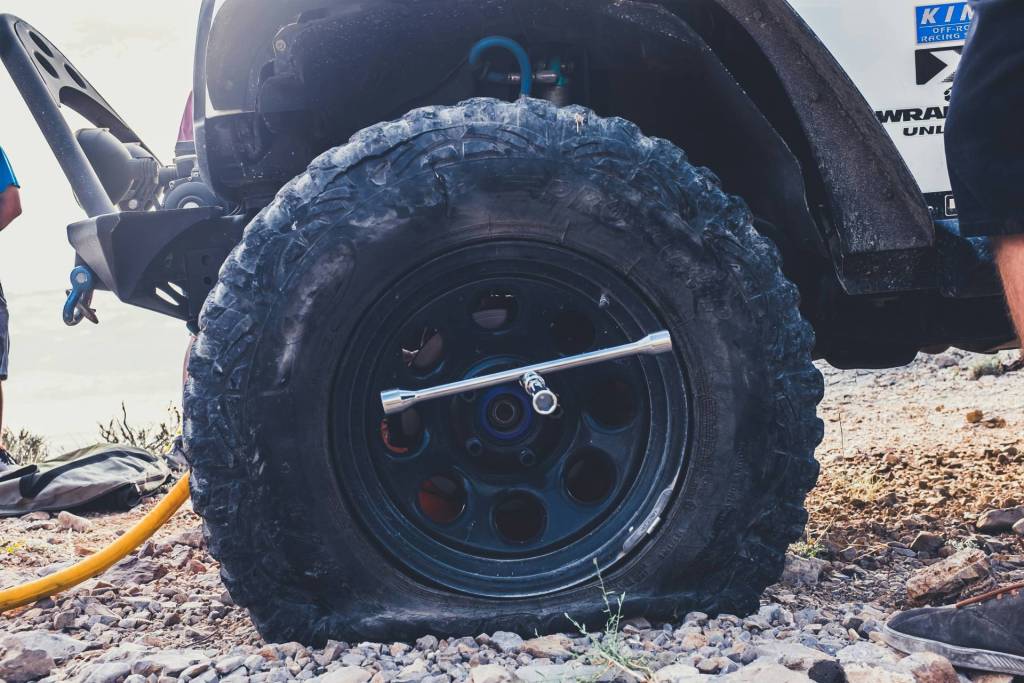
While the vehicle’s still on the ground, use the wheel spanner to loosen the wheel nuts. Don’t remove them entirely yet; just “break” the tension. If they’re stuck, you can use your body weight to push down on the spanner – just make sure you’re pushing down to avoid hurting your back.
Position the jack at the correct point and raise the vehicle until the flat tyre’s clearly off the ground. You’ll need enough clearance to fit the fully inflated spare, so give it an extra few centimetres of height.
Remove the nuts fully and pull the flat wheel towards you. Slide the spare onto the bolts. This can be tricky with heavy all-terrain tyres, so try to align the holes in the 4×4 rims with the bolts before you lift.
Hand-tighten the nuts first. Then, use the spanner to tighten them in a “star” or “cross” pattern rather than going in a circle. This ensures the wheel sits flush against the hub and doesn’t wobble.
Lower the jack until the tyre touches the ground, then give the nuts a final firm tightening with the spanner. You don’t need to be a bodybuilder, but they should be very secure. For extra peace of mind, you can take the vehicle to a tyre service centre, where they’ll use machinery to tighten the nuts.
Once the spare’s on, your job isn’t quite finished. Here’s what’s left to do:

Sometimes, you don’t actually need to swap the whole wheel. If you’ve picked up a nail or a sharp thorn on a gravel track, a tyre repair kit (often called a “plug kit”) can be a lifesaver. It’s much faster than a full change and keeps your spare fresh for a more serious sidewall tear.
Here’s how to plug a tyre puncture in the bush:
Note: A plug is a fantastic temporary fix for the tread area, but it won’t work on a sidewall. If the side of your all-terrain tyre is sliced, you’ll have to perform a full tyre change as described above.

Knowing how to change a tyre is key to gaining the confidence to explore the furthest reaches of southern Africa. Whether you’re in a nimble Jimny or a robust Hilux, being prepared ensures that a small mechanical hiccup remains a minor campfire story rather than a trip-ending disaster. Always remember to check the condition of your 4×4 wheels and 4×4 rims before you set off on any long-distance journey.
Ready to start your adventure? Explore our range of fully equipped 4×4 rentals and hit the road with peace of mind knowing you’re ready for whatever the terrain throws at you.
Planning a winter adventure through Southern Africa is an experience like no other. While the...
1 April 2026 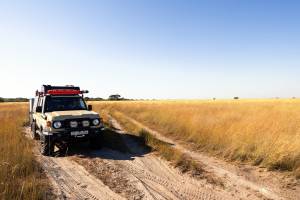
Planning a self-drive expedition through Southern Africa is a dream for many adventurers. However, when...
13 March 2026 
For decades, the Kruger National Park has stood as the crown jewel of African conservation...
23 February 2026 


Typically responds in under 15 minutes